

 分类:
GET新技能
分类:
GET新技能
一、什么是百度编辑器
百度编辑器UEditor是由百度web前端研发部开发一款应用于网站的编辑器,具有轻量,可定制,注重用户体验等特点,相对于常见的编辑器FCKEditor、ckeditor,
百度编辑器更注重用户体验,使用起来也很简单,百度编辑器还有很多内置的一些功能,可节省很多的开发时间。
二、如何配置编辑器
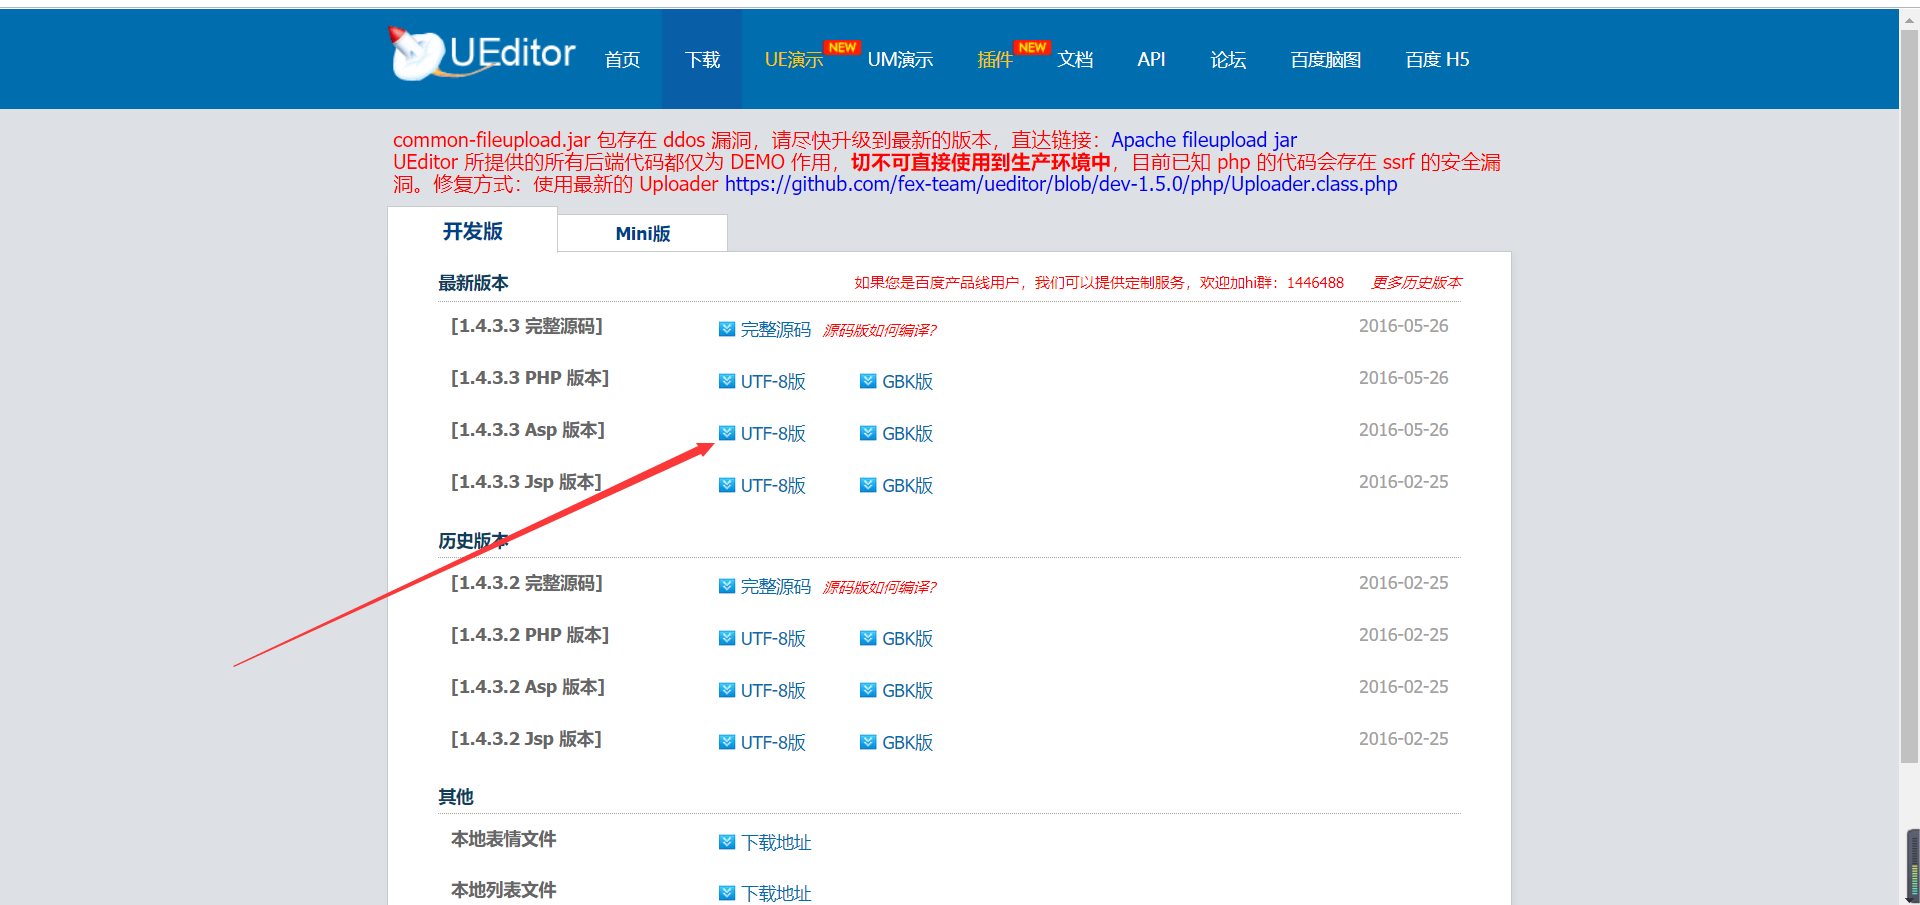
首先到官网下载相对应的版本,https://ueditor.baidu.com/website/
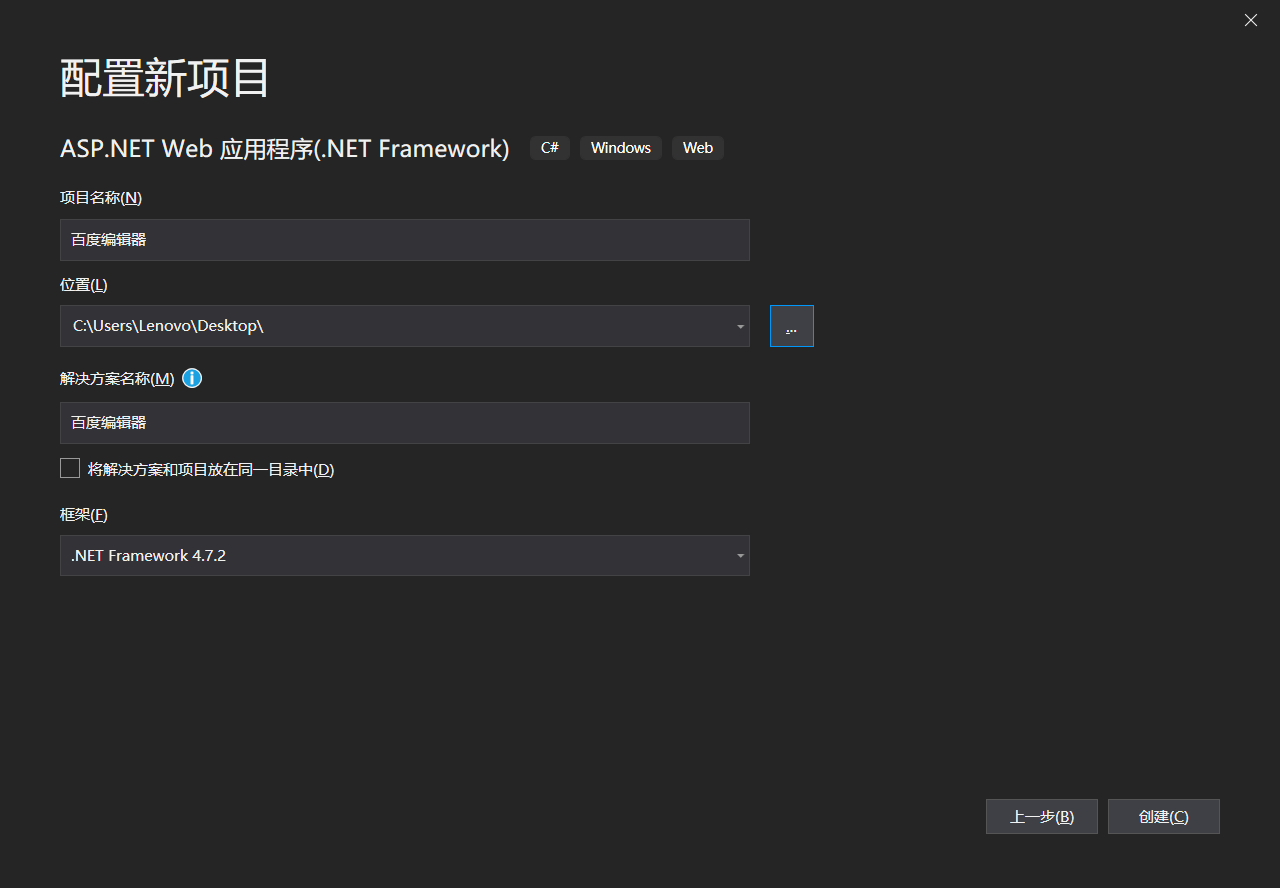
我们打开VS,创建一个新的MVC项目
将刚刚下载好的拷贝到项目目录下
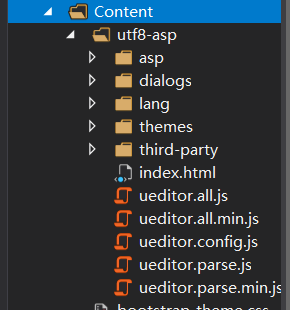
然后按顺序引入文件

写HTML代码

写JS代码

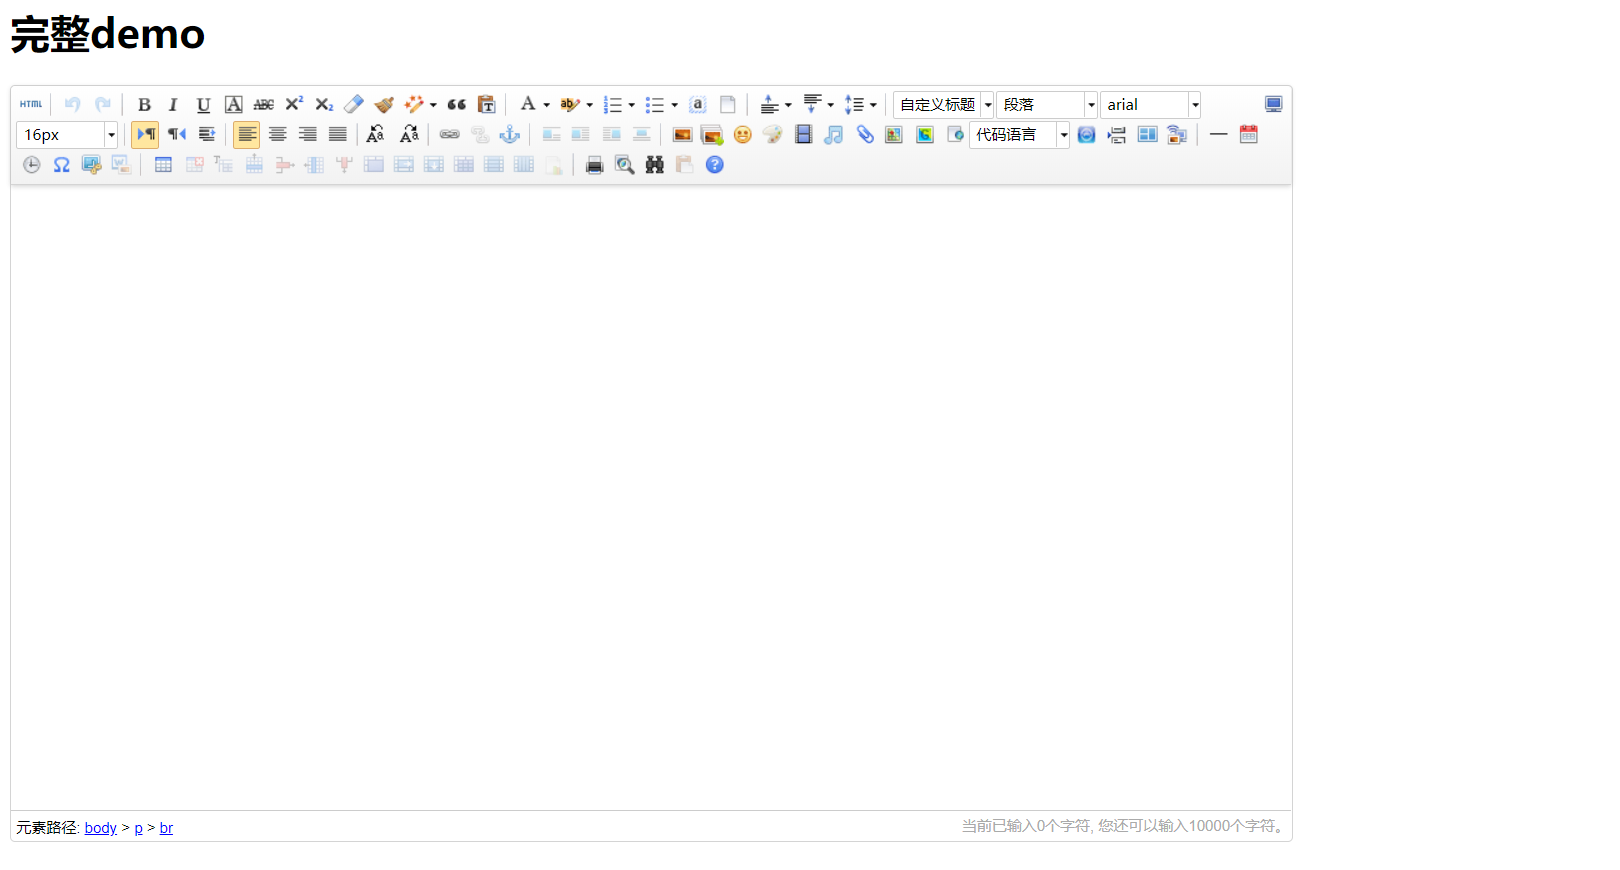
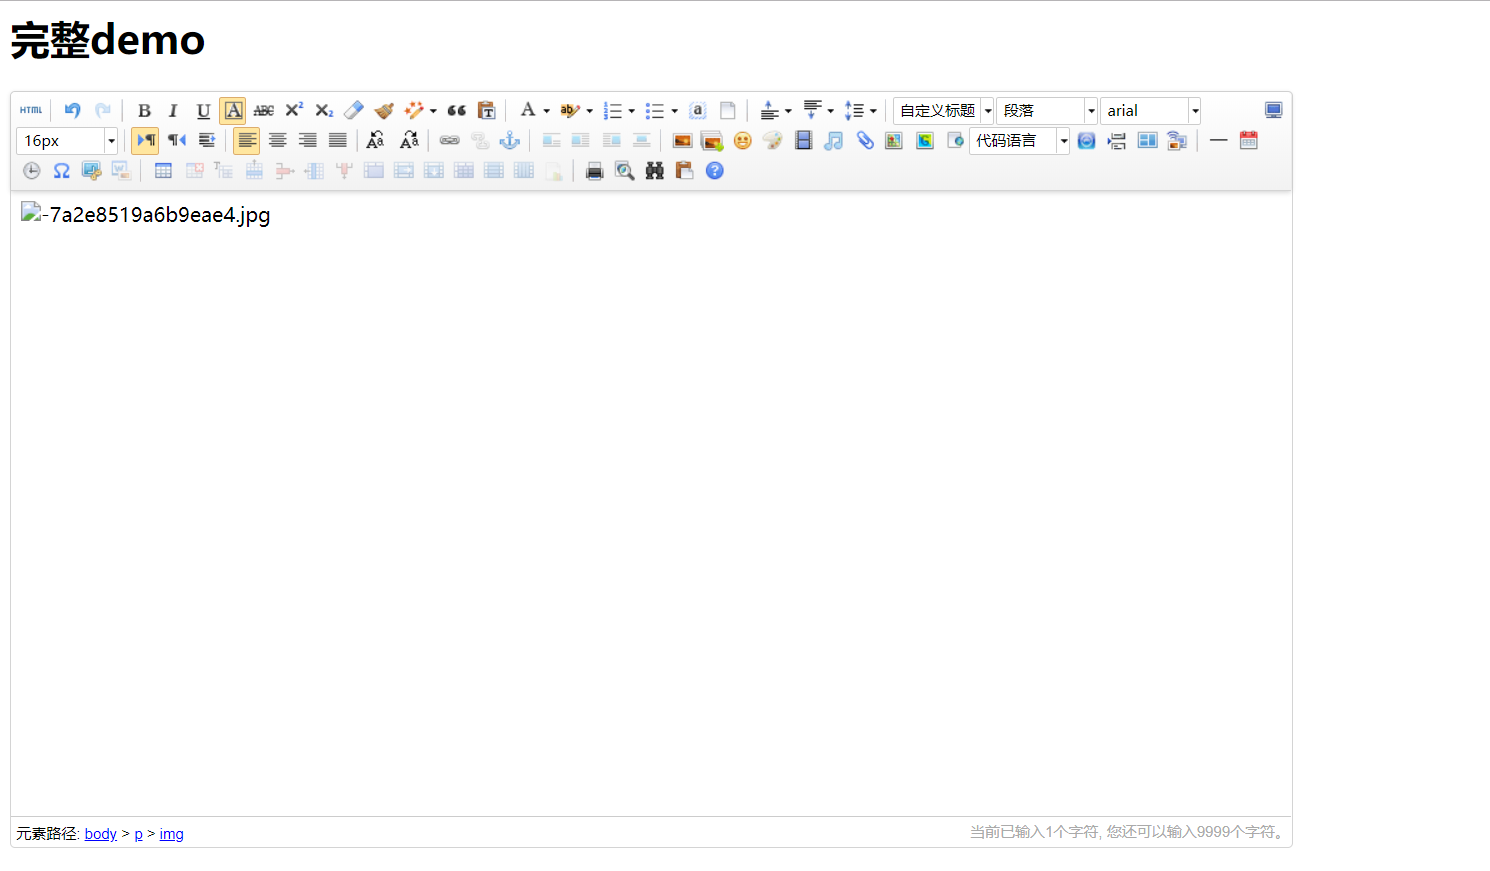
这个时候就差不多完成了,我们运行项目看一下
三、百度编辑器实现添加图片功能
百度编辑器是可以实现上传图片然后显示出来的,我们拖动图片上去,发现显示不了,这是因为显示图片是需要配置的
首先我们添加新的控制器

然后写入以下代码
[ValidateInput(false)]
        public ActionResult UploadImage()
        {
            var action = Request["action"];
            var json = "";
            if (action == "config")
            {
                json = @"{""imageActionName"":""UploadImage"",""imageFieldName"": ""upfile"",""imageCompressEnable"":""true"",""imageCompressBorder"": 1600,""imageInsertAlign"": ""none"",""imageUrlPrefix"": """",""imageAllowFiles"": ["".png"", "".jpg"", "".jpeg"", "".gif"", "".bmp""]}";
            }
            else
            {
                var file = Request.Files["upfile"];

                if (file == null)
                {
                    return new ContentResult { ContentEncoding = Encoding.UTF8, ContentType = "application/json", Content = "文件资源为空" };
                }

                //从新写一个文件名
                string guid = Guid.NewGuid().ToString("N");
                string newfilename = guid + file.FileName.Substring(file.FileName.LastIndexOf("."));

                string url = "~/arcimg/" + newfilename;

                string srcFileName = Server.MapPath(url);

                // 保存图片
                file.SaveAs(srcFileName);

                var tvcMallImageUrl = "/arcimg/" + newfilename;


                // 上传图片到外网服务器
                //tvcMallImageUrl = "";

                json = json + "{\"url\":\"" + tvcMallImageUrl + "\",";
                json = json + "\"state\":\"SUCCESS\"}";
            }

            return new ContentResult { ContentEncoding = Encoding.UTF8, ContentType = "application/json", Content = json };
        }
然后我们在前端页面js代码中,添加图片配置

<script type="text/javascript">
    ////添加编辑器
    var ue = UE.getEditor("editor", {
        serverUrl: '../Image/UploadImage',//配置图片上传的控制器
        "imageActionName": "uploadimage", /* 执行上传图片的action名称 */
        "imageFieldName": "upfile", /* 提交的图片表单名称 */
        "imageMaxSize": 20480000, /* 上传大小限制,单位B */
        "imageAllowFiles": [".png", ".jpg", ".jpeg", ".gif", ".bmp"], /* 上传图片格式显示 */
        "imageCompressEnable": true, /* 是否压缩图片,默认是true */
        "imageCompressBorder": 1600, /* 图片压缩最长边限制 */
        "imageInsertAlign": "none", /* 插入的图片浮动方式 */
        "imageUrlPrefix": "/", /* 图片访问路径前缀 */
    });

     //实例化编辑器
    //建议使用工厂方法getEditor创建和引用编辑器实例,如果在某个闭包下引用该编辑器,直接调用UE.getEditor('editor')就能拿到相关的实例
    var ue = UE.getEditor('editor');
</script>
这个时候我们运行项目,点击上传图片,图片可以显示了,配置成功
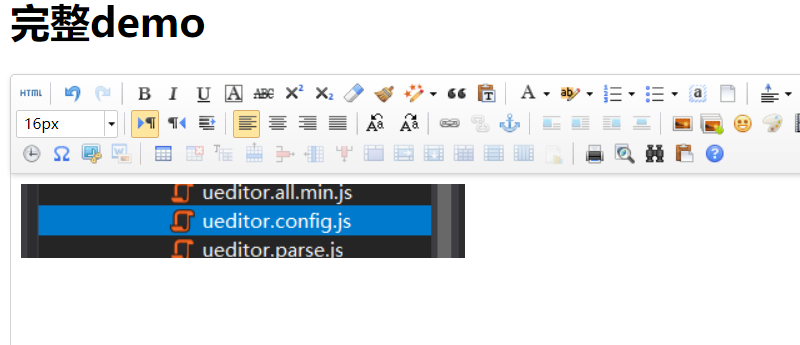
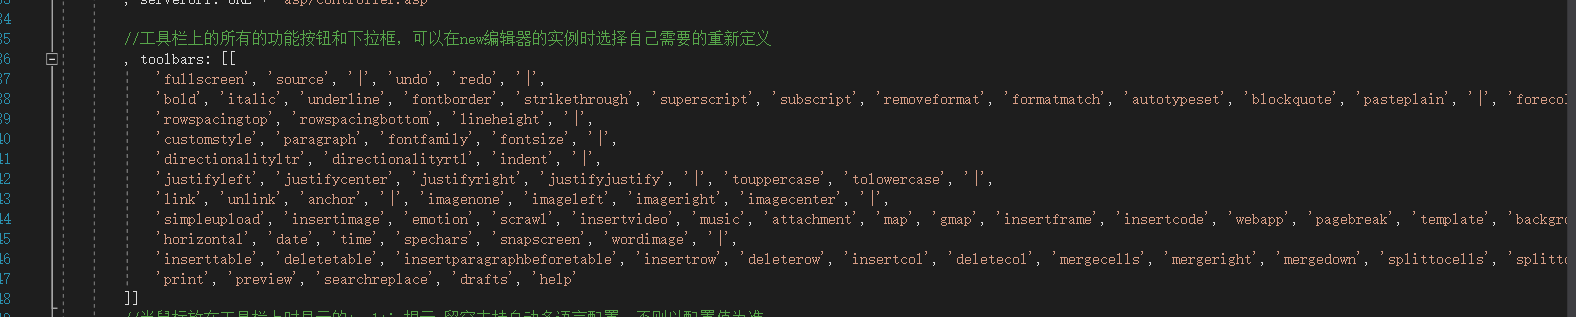
这时编辑器的配置就完成了,编辑器的按钮可以根据自己的需要来进行删改,想要修改可以到ueditor.config.js中修改。

如果发现修改按钮,刷新页面后按钮并没有改变,可以试试清除浏览器的缓存,然后在重新运行项目就可以了。
好了,以上就是关于如何配置百度编辑器。
我们下次再见
评价


排名
6
文章
6
粉丝
16
评论
8
{{item.articleTitle}}
{{item.blogName}} : {{item.content}}
ICP备案 :渝ICP备18016597号-1
网站信息:2018-2026TNBLOG.NET
技术交流:群号656732739
联系我们:contact@tnblog.net
公网安备: 50010702506256
50010702506256

欢迎加群交流技术