 分类:
Java
一.创建一个项目,可以直接只添加web 的项目;
二.添加swagger的swagger ui 和swagger2:如下
1、 在Maven网站搜索springfox-swagger
2、 找到swagger ui,swagger2
3、 获取swagger ui的依赖
a.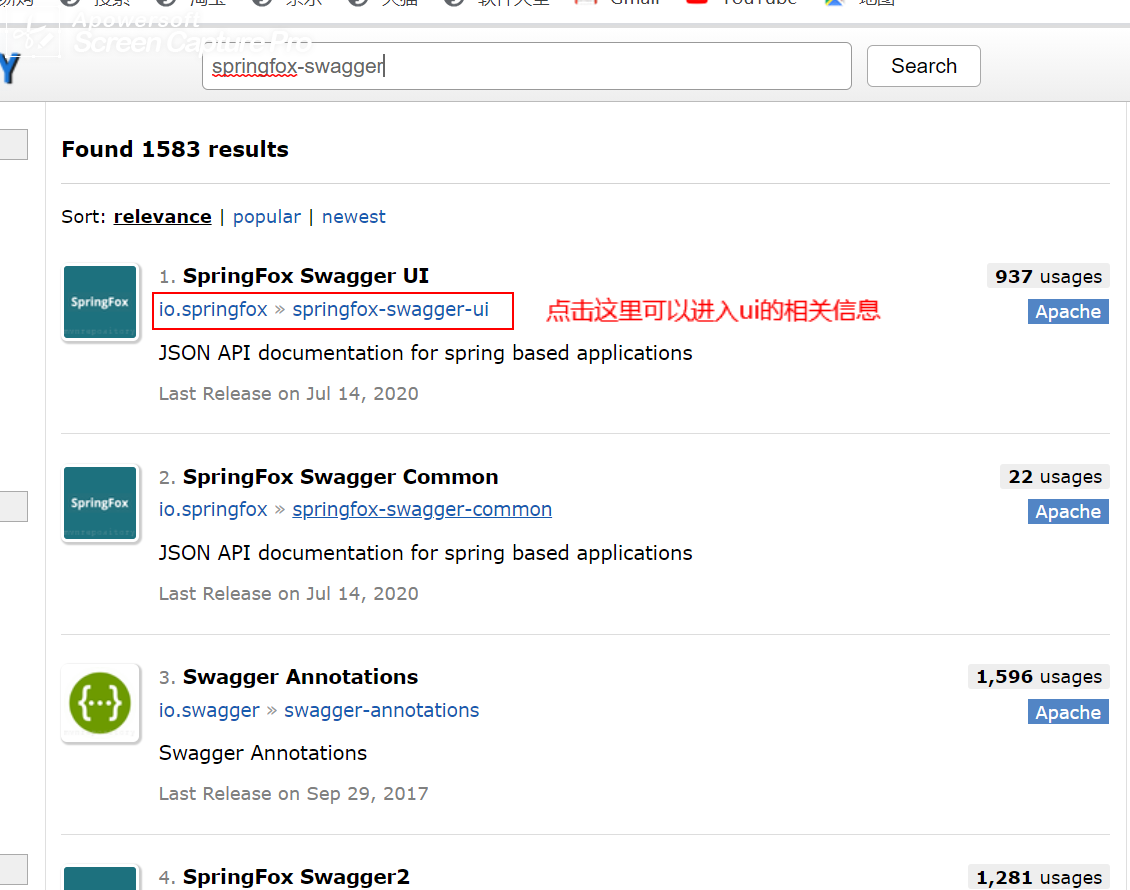
b.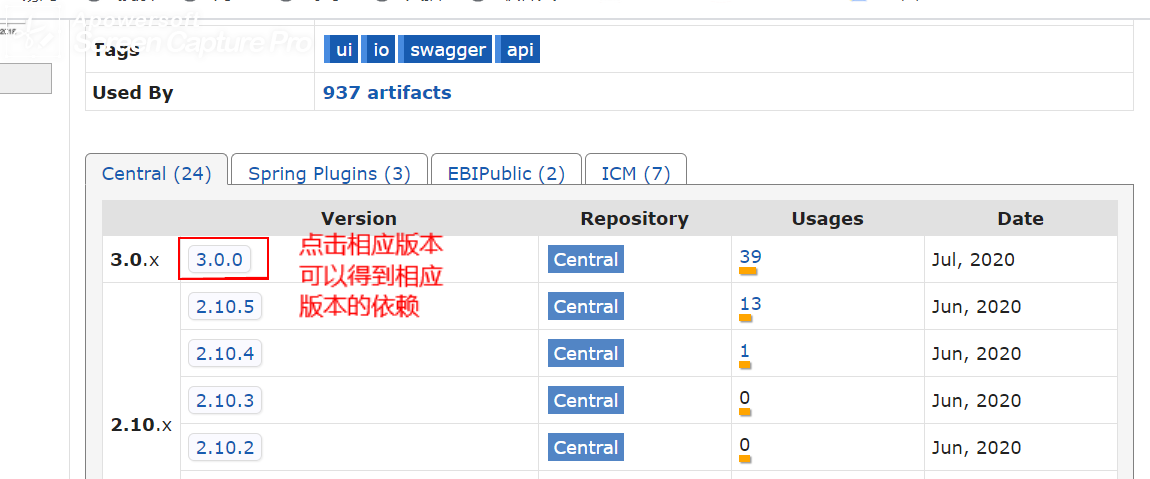
c.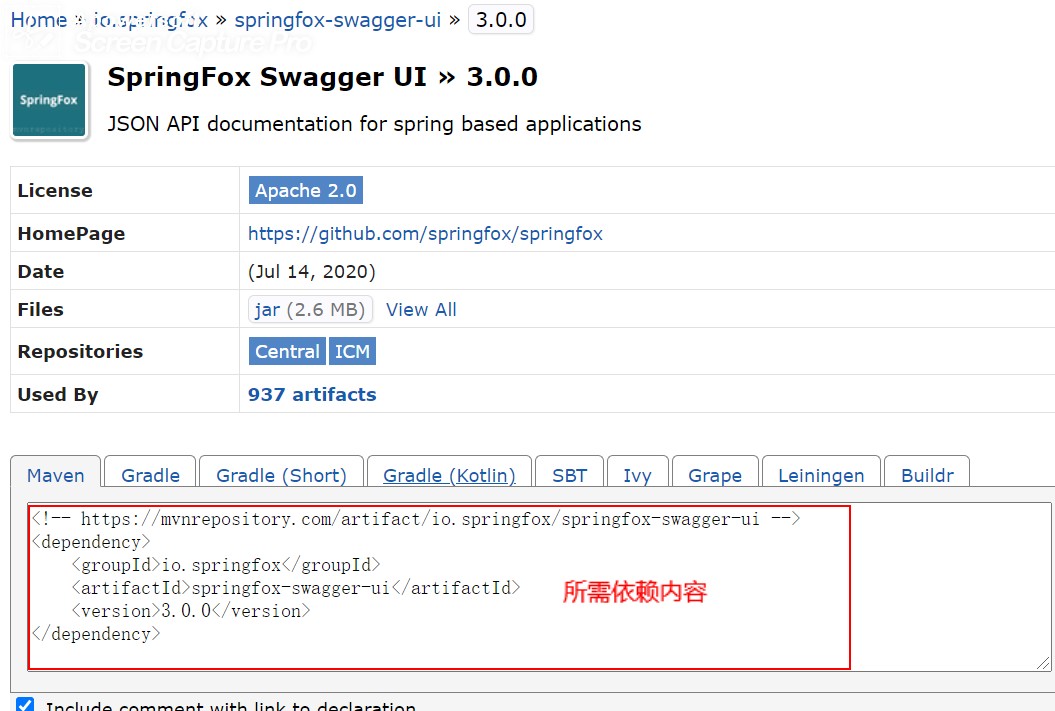
4、swagger2雷同swagger ui
它们2.9.2版本的依赖
<!-- https://mvnrepository.com/artifact/io.springfox/springfox-swagger-ui -->
<dependency>
<groupId>io.springfox</groupId>
<artifactId>springfox-swagger-ui</artifactId>
<version>2.9.2</version>
</dependency>
<!-- https://mvnrepository.com/artifact/io.springfox/springfox-swagger2 -->
<dependency>
<groupId>io.springfox</groupId>
<artifactId>springfox-swagger2</artifactId>
<version>2.9.2</version>
</dependency>
注意:一定要根据版本而示意
三、
创建一个Holle工程
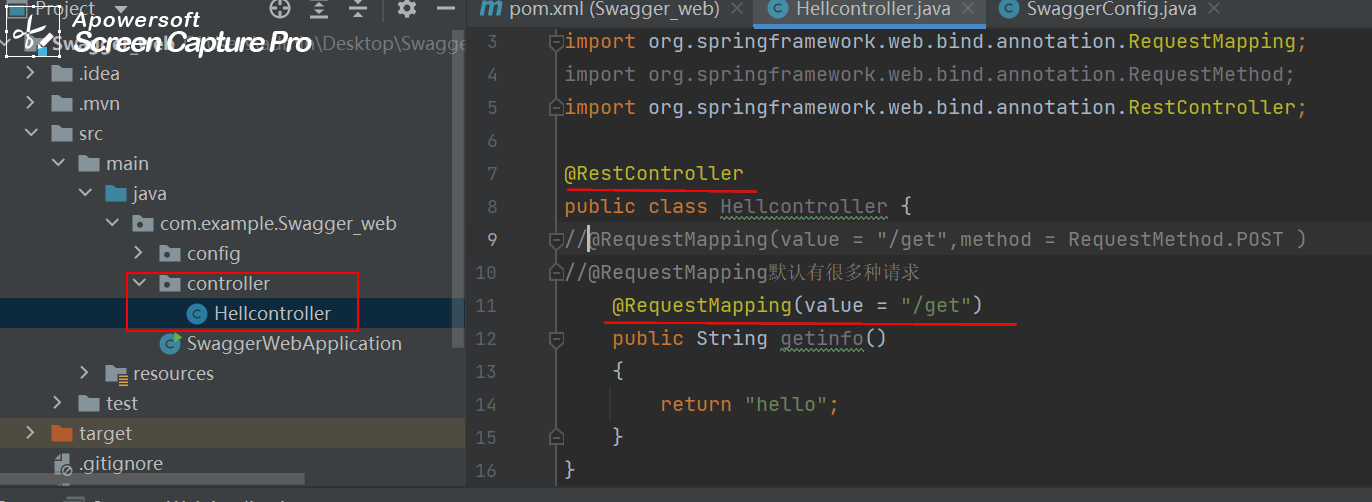 四、创建一个config文件夹配置swagger

启动程序搜索:http://localhost:8080/swagger-ui.html
就可以看见自己的swagger了
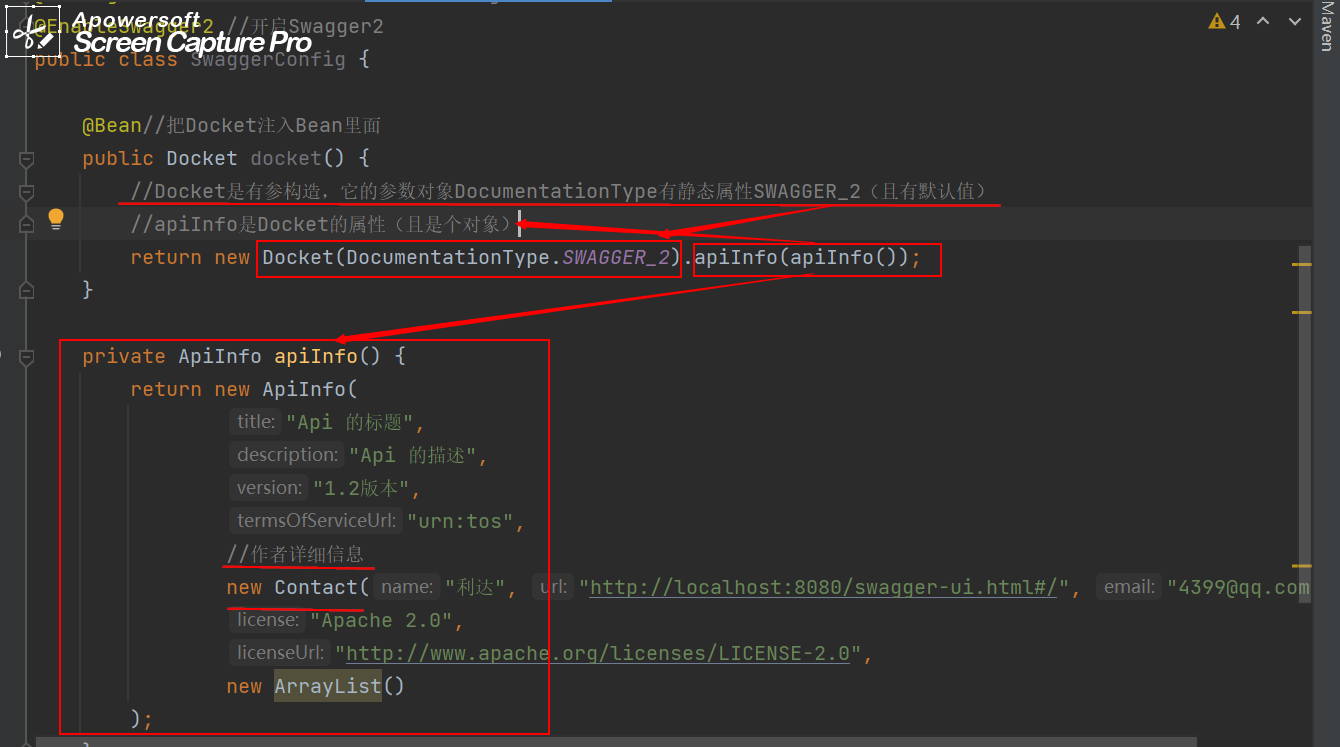
五、配置swagger的详细信息(所以代码可根据源码思路查找)
六、过滤接口
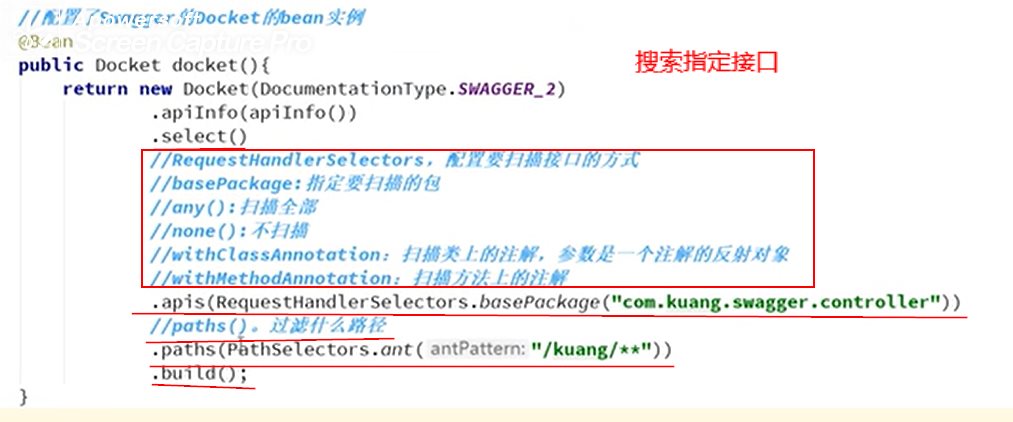
过滤接口一般要用到select(),用到select()一定要用到build();
在select和build之间还可以点出两个方法:apis()和paths(),如上
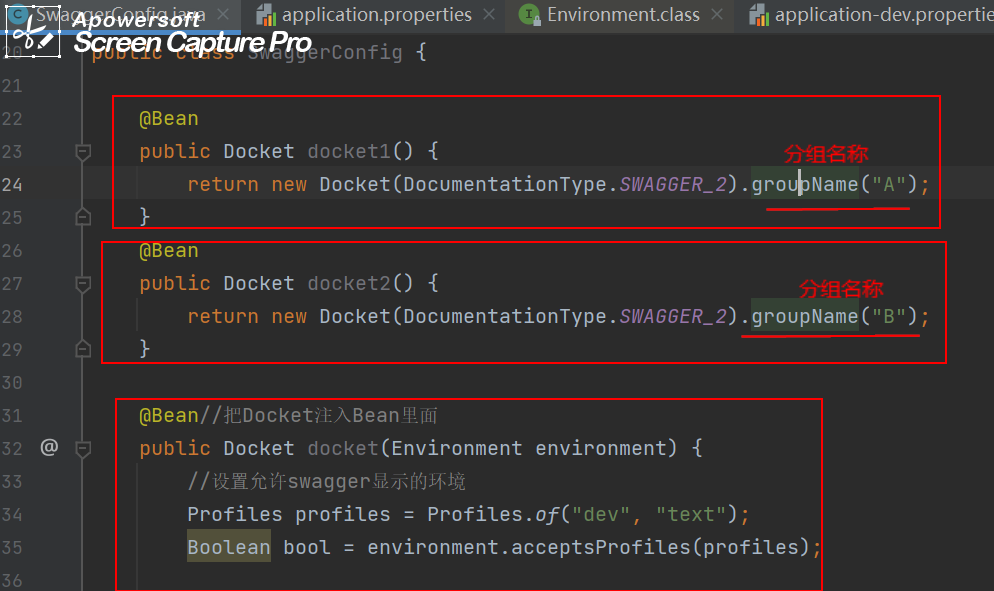
七、根据不同环境是否启用swagger即监测环境


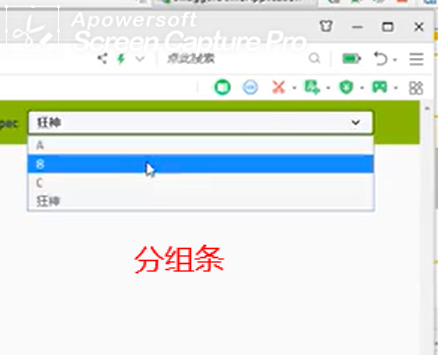
八、分组
九.最重要的一步声明该类是swagger的(一定要)
一般用@Api(),其中@Api里面的value目前没发现有什么用

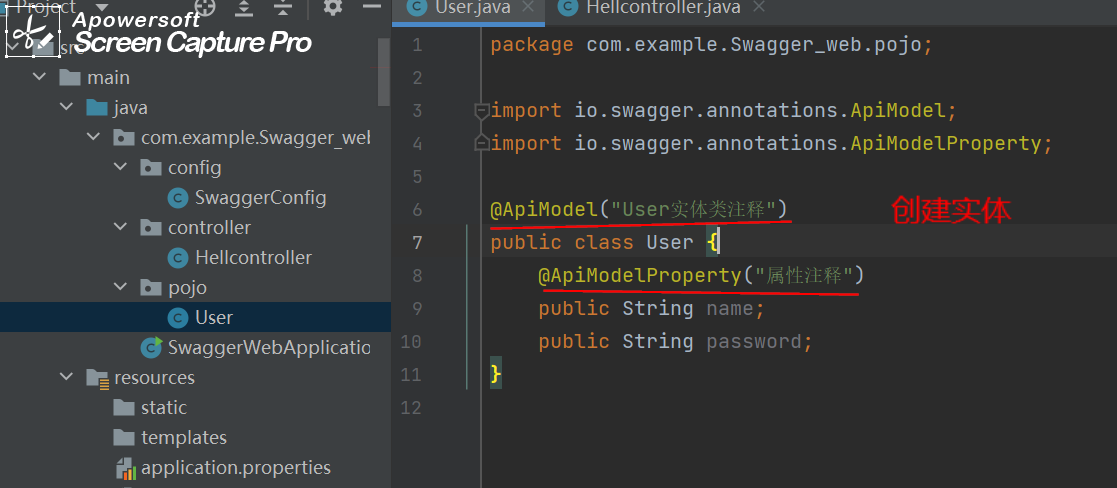
十、实体类
1、创建实体及实体注释
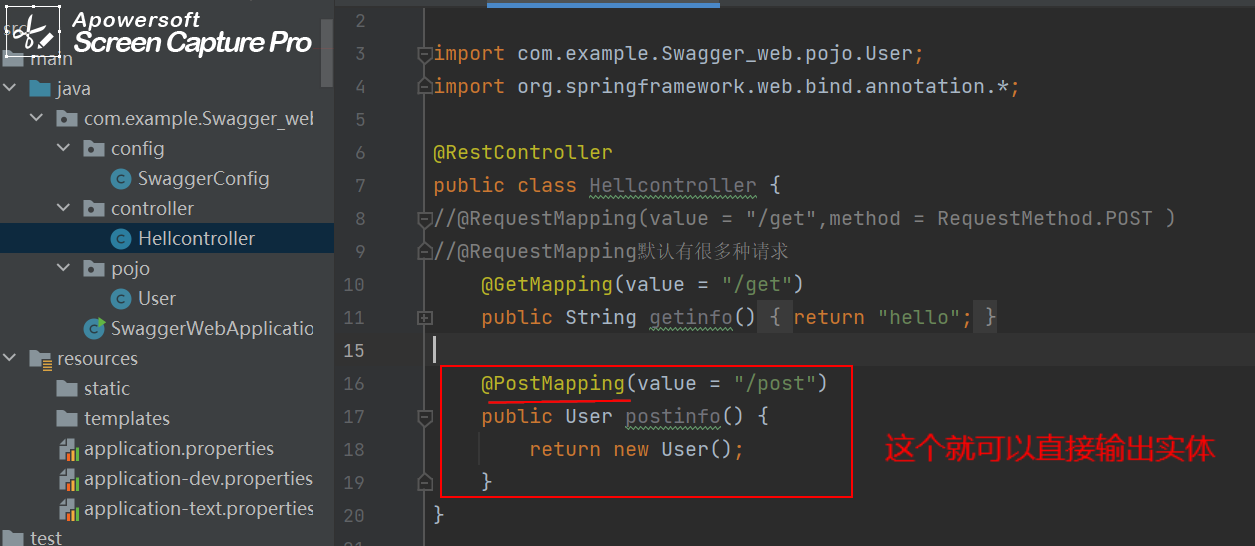
2、引入实体及创建方法
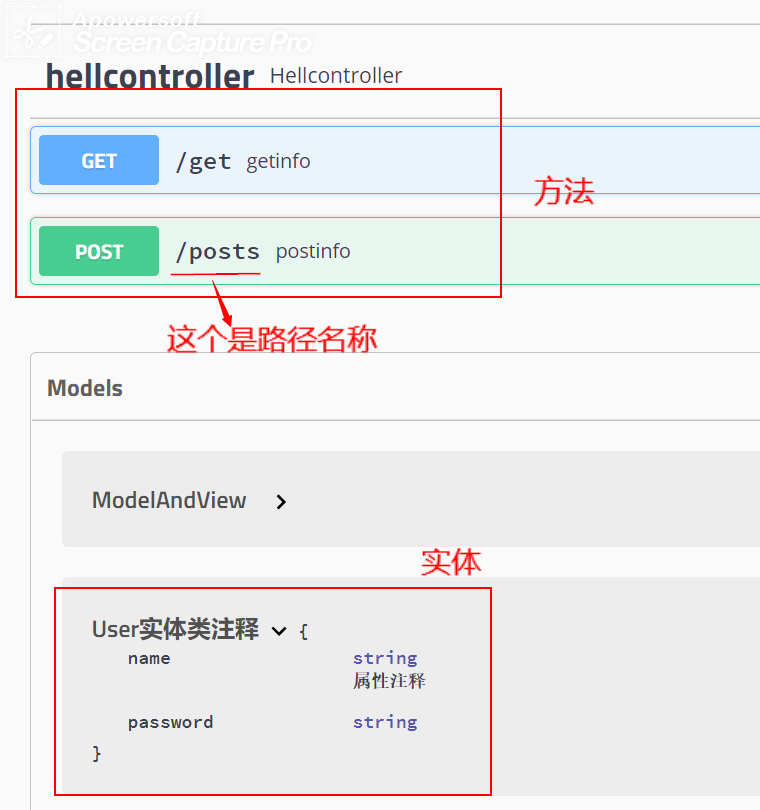
效果图如下:
方法的注释
@ApiOperation("方法名称")
@GetMapping(value = "/get")
public String getinfo2(@ApiParam("参数名称") String name) {
return "hello";
}

注意:建议少用参数注释
 50010702506256


