 分类:
.net后台框架

Kubernetes安装 Apollo
首先安装存储。
Centos 安装nfs
systemctl stop firewalldsystemctl disable firewalldyum install -y nfs-common nfs-utilsmkdir /nfsdatachmod 666 /nfsdatavi /etc/exports/nfsdata *(rw,async)exportfs -rvsystemctl start rpcbindsystemctl start nfssystemctl enable rpcbind.service nfsshowmount -eyum install -y nfs-utils
Ubuntu 安装nfs
apt-get install nfs-kernel-server -ysudo ufw disablemkdir /nfsdatachmod 666 /nfsdataecho "/nfsdata *(async,insecure,no_root_squash,no_subtree_check,rw)" > /etc/exportscat /etc/exports/etc/init.d/nfs-kernel-server restartshowmount -e
k8s工作节点安装nfs
apt install nfs-common -yyum install -y nfs-utils
安装NFS Storage
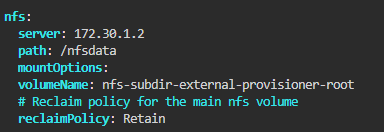
wget https://github.com/kubernetes-sigs/nfs-subdir-external-provisioner/releases/download/nfs-subdir-external-provisioner-4.0.16/nfs-subdir-external-provisioner-4.0.16.tgz#解压tar -xvf nfs-subdir-external-provisioner-4.0.16.tgzcd nfs-subdir-external-provisionerifconfigvim values.yaml

kubectl create ns nfshelm install nfs-subdir-external-provisioner . -n nfskubectl patch storageclass nfs-client -p '{"metadata": {"annotations":{"storageclass.kubernetes.io/is-default-class":"true"}}}'
安装Mysql
helm repo add my-repo https://charts.bitnami.com/bitnamikubectl create ns mysqlhelm install my-release \--set auth.rootPassword=bob \--set auth.username=bob \--set auth.password=bob \-n mysql \my-repo/mysqlMYSQL_ROOT_PASSWORD=$(kubectl get secret --namespace mysql my-release-mysql -o jsonpath="{.data.mysql-root-password}" | base64 -d)echo $MYSQL_ROOT_PASSWORD
Apollo
helm repo add apollo https://charts.apolloconfig.comhelm search repo apollokubectl create ns apollo
mkdir -p /root/apollo/apollo-service/ && cd /root/apollo/apollo-service/# 拉取 chart 到本地 /root/apollo/apollo-service/ 目录helm pull apollo/apollo-service --version 0.5.1tar -zxvf apollo-service-0.5.1.tgzcp apollo-service/values.yaml ./values-test.yaml# 查看当前目录层级tree -L 2.├── apollo-service│ ├── Chart.yaml│ ├── templates│ └── values.yaml├── apollo-service-xxx.tgz└── values-test.yaml
创建数据库
# 获取数据库初始化语句# https://github.com/apolloconfig/apollo/blob/master/scripts/sql/apolloconfigdb.sql# https://raw.githubusercontent.com/apolloconfig/apollo/master/scripts/sql/apolloconfigdb.sqlwget https://raw.githubusercontent.com/apolloconfig/apollo/master/scripts/sql/apolloconfigdb.sql -O /tmp/apolloconfigdb.sqlcat /tmp/apolloconfigdb.sqlkubectl cp /tmp/apolloconfigdb.sql mysql/my-release-mysql-0:/tmp/apolloconfigdb.sqlkubectl exec -n mysql -it pod/my-release-mysql-0 /bin/bash# 连接部署好的 Mysql 数据,创建 apollo 账户和数据库mysql -uroot -p# 或 mysql -h mysql_host -u root -p root123mysql > create database ApolloConfigDB default character set utf8mb4 collate utf8mb4_unicode_ci;mysql > create user 'apollo'@'%' identified by 'apollo';mysql > grant all on ApolloConfigDB.* to 'apollo'@'%';# 老版本 mysql > grant all on ApolloConfigDB.* to 'bob'@'%' identified by 'bob';# 执行数据库初始化语句mysql > source /tmp/apolloconfigdb.sql;
vim values-test.yamlconfigdb:name: apollo-configdbhost: "my-release-mysql.mysql"port: 3306dbName: ApolloConfigDBuserName: "apollo"password: "apollo"
helm -n apollo install apollo-service apollo-service -f values-test.yaml | tee test.loghelm -n apollo list
安装 apollo-portal
helm repo add apollo https://www.apolloconfig.com/charts/helm repo updatehelm search repo apollo-portalmkdir -p /root/apollo/apollo-portal/ && cd /root/apollo/apollo-portal/# 拉取 chart 到本地 /root/apollo/apollo-portal/ 目录helm pull apollo/apollo-portal --version 0.5.1tar -zxvf apollo-portal-0.5.1.tgzcp apollo-portal/values.yaml ./values-test.yaml# 查看当前目录层级tree -L 2.├── apollo-portal│ ├── Chart.yaml│ ├── templates│ └── values.yaml├── apollo-portal-0.5.1.tgz└── values-test.yaml
# 获取数据库初始化语句# https://github.com/apolloconfig/apollo/blob/master/scripts/sql/apolloportaldb.sql# https://raw.githubusercontent.com/apolloconfig/apollo/master/scripts/sql/apolloportaldb.sqlwget https://raw.githubusercontent.com/apolloconfig/apollo/master/scripts/sql/apolloportaldb.sql -O /tmp/apolloportaldb.sqlkubectl cp /tmp/apolloportaldb.sql mysql/my-release-mysql-0:/tmp/apolloportaldb.sqlkubectl exec -n mysql -it pod/my-release-mysql-0 /bin/bash# 连接部署好的 Mysql 数据,创建 apollo 账户和数据库mysql -uroot -pmysql > create database ApolloPortalDB default character set utf8mb4 collate utf8mb4_unicode_ci;mysql > grant all on ApolloPortalDB.* to 'apollo'@'%';# 执行数据库初始化语句mysql > source /tmp/apolloportaldb.sqlexitexit
vim values-test.yaml
cat values-test.yamlname: apollo-portalfullNameOverride: "apollo-portal"replicaCount: 1containerPort: 8070# SVC 配置service:fullNameOverride: ""port: 8070targetPort: 8070type: ClusterIPsessionAffinity: ClientIP# ingress 配置,方便集群外访问ingress:enabled: trueannotations: {}hosts:- host: "apollo.evescn.com"paths: [/]tls: []nodeSelector: {}# 配置定义,定义当前 apollo 的环境以及对应环境的 configservice 地址,支持配置多个环境,网络上可以访问即可, dev,fat,uat,prod 参数config:envs: fatmetaServers:fat: http://apollo-configservice.apollo:8080# 服务对应外部数据库地址信息portaldb:name: apollo-portaldb# apolloportaldb hosthost: "my-release-mysql.mysql"port: 3306dbName: ApolloPortalDBuserName: apollopassword: apollo
helm -n apollo install apollo-portal apollo-portal -f values-test.yaml | tee test.loghelm -n apollo list
export POD_NAME=$(kubectl get pods --namespace apollo -l "app=apollo-portal" -o jsonpath="{.items[0].metadata.name}")echo "Visit http://0.0.0.0:8070 to use your application"kubectl --address 0.0.0.0 --namespace apollo port-forward $POD_NAME 8070:8070
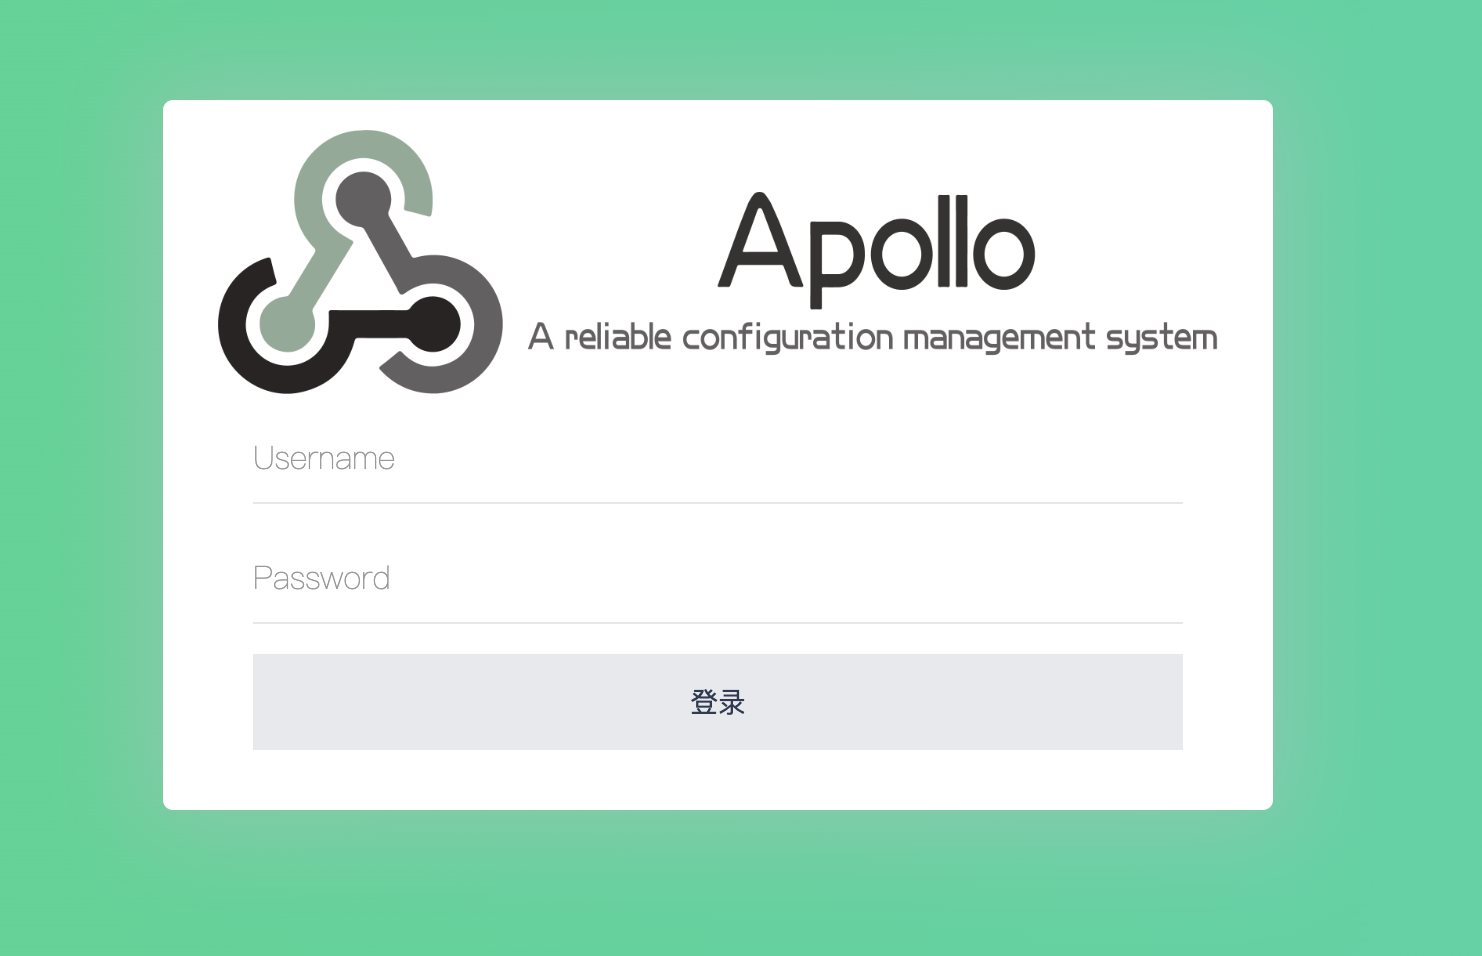
账号和密码就是:apollo/admin


欢迎加群讨论技术,1群:677373950(满了,可以加,但通过不了),2群:656732739
评价
排名
2
文章
634
粉丝
44
评论
93
docker中Sware集群与service
尘叶心繁 : 想学呀!我教你呀
一个bug让程序员走上法庭 索赔金额达400亿日元
叼着奶瓶逛酒吧 : 所以说做程序员也要懂点法律知识
.net core 塑形资源
剑轩 : 收藏收藏
映射AutoMapper
剑轩 :
好是好,这个对效率影响大不大哇,效率高不高
一个bug让程序员走上法庭 索赔金额达400亿日元
剑轩 : 有点可怕
ASP.NET Core 服务注册生命周期
剑轩 :
http://www.tnblog.net/aojiancc2/article/details/167
ICP备案 :渝ICP备18016597号-1
网站信息:2018-2025TNBLOG.NET
技术交流:群号656732739
联系我们:contact@tnblog.net
公网安备: 50010702506256
 50010702506256

欢迎加群交流技术


